Sound equalization is a process where the sound engineer increases (gains up) or decreases (gains down) signal levels of specific audio frequencies. Most of the sounds we hear are complex, meaning they contain audio signals at many different frequencies. Since adjusting frequency levels requires a specialized tool, the EQ (short for Equalization) was created.
The human ear can generally hear sounds ranging from 20 Hz. to 20 kHz. Of course, as we grow older, our hearing ability diminishes, and this audio frequency range shrinks as well.
EQ can be used to enhance the recording of an instrument or a voice over. However, it cannot, and should not be used to fix a poor recording. When unhappy with the sound recording, the sound engineer will initially want to check the microphone placement, or use another microphone with different tonal characteristics.
Generally speaking, when using EQ, a good engineer will rather cut or gain down audio signals at certain frequencies rather than boost them. A recording sounds more natural when unwanted sounds are reduced, rather than boosting the desired frequencies. The reason for this is that when gain is added to certain frequencies using EQ, it is essentially using the EQ tool as a pre amp. Since EQ is not designed to work as a preamp, boosting frequencies will add unwanted and unnatural artifacts to the recording
Human hearing is most sensitive to midrange and upper midrange frequencies. Because of this sensitivity, large boosts in this range can make a project sound harsh or shrill.
Equalization tools can be hardware-based, but over the years, software-based EQ applications have increasingly taken over, and are used as a plug-ins, or add-ons to a recording platform.
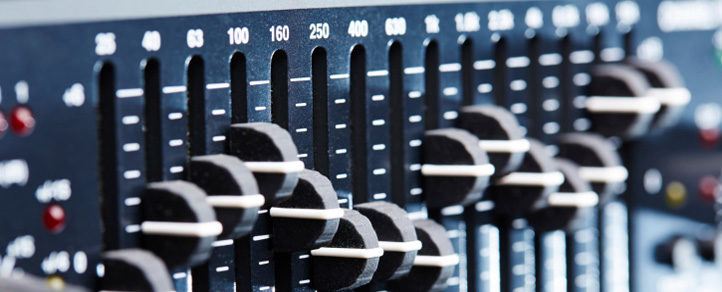
There are many different types of equalization tools. The two most common interfaces are graphic and parametric equalizers. A graphic equalizer consists of a bank of sliders for boosting and cutting different bands (or frequencies ranges) of sound. The number and width of filters depends on the application
A parametric equalizer consists of control knobs used to adjust the gain, bandwidth and center frequency. Some EQ tools do not have a control for the bandwidth as it is designed to be fixed. These are called quasi-parametric or semi-parametric equalizers.
Below are some commonly found basic EQ presets:
• Low Shelf filter – functions like a bass control knob on a stereo system. Low Shelf filters adjust the level of signal at the set frequency and all frequencies below it.
• High Shelf filter – functions like a treble control knob on a stereo. High Shelf filters adjust the level of signal at the set frequency and all frequencies above it.
• Gain – Adjusts the level of signal at the set frequency, and some surrounding frequencies. The Q setting determines how many surrounding frequencies are affected.
• Q (or Q factor) – Also called Resonance or Bandwidth. Sets the amount of surrounding frequencies that will be affected. The width of the Q is usually expressed in terms of octaves.
Boosting an instrument’s harmonic frequencies will add what many engineers call presence, clarity or brightness. The lower frequencies are used for punch or presence; the higher frequencies are used to accentuate clarity or brightness.
At Voice Crafters, we usually start with a set EQ template when recording voice overs, and adjust the settings depending on the timbre of the talent’s voice. Typically, use a low cut (or high-pass, which ever you prefer) at around 80- 100 Hz for males, and up to around 120 Hz for females – to reduce the muddiness of the vocals.
Of course, the most important tools when fine tuning the desired frequencies – are our ears. Being able to adjust the right frequencies to bring a vocal performance to life takes years of experience and know how. Therefore, it is important to be selective when choosing the right facility and technicians for your project.


0 Comments